Mural wallpaper is one of the most dramatic design features you can introduce into a room. Whether you're looking for a dramatic feature wall or a soft scenic background, mural wallpapers provide limitless design options. But to achieve that perfect finish, learning how to hang mural wallpaper is crucial. In this tutorial, we'll take you through every step to guarantee your mural wallpaper appears seamless and beautiful from edge to edge.
Why Mural Wallpaper?
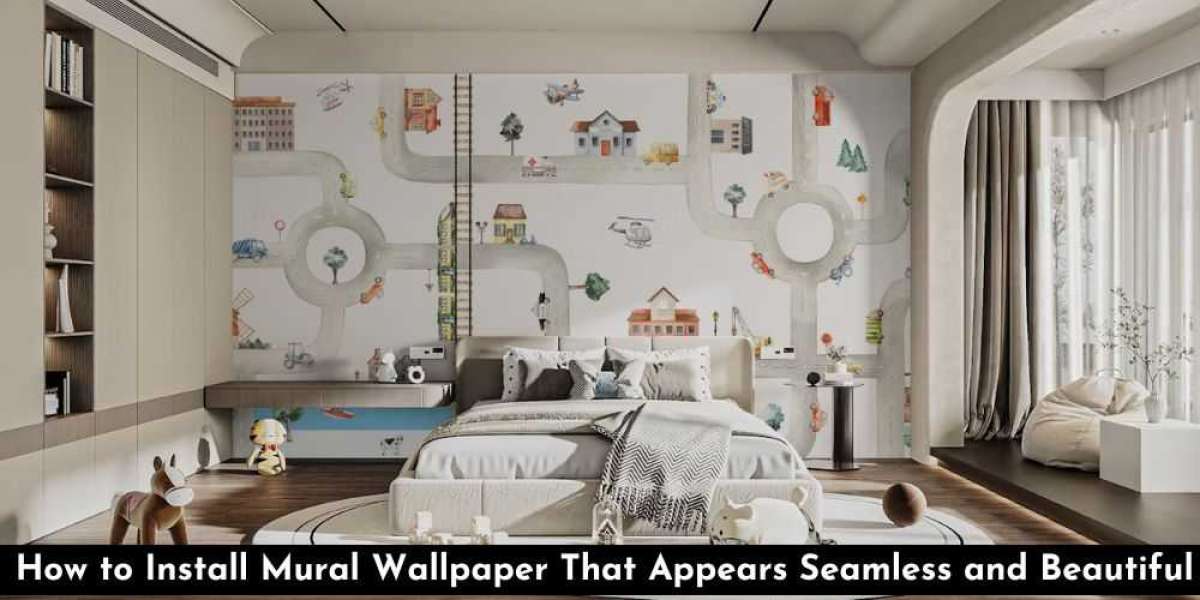
Unlike regular patterned wallpaper, mural wallpaper is meant to be a story or scene. From peaceful landscapes to abstract and cityscapes, it provides high-impact visual interest that can totally transform your room.
If you’re new to mural wallpaper, it’s worth understanding how it actually works. This detailed explanation of mural wallpaper breaks down the basics from how murals are printed to the differences between custom and standard sizes.
Step-by-Step Guide to Hanging Mural Wallpaper
Prepare Your Wall
- Preparation is key for a smooth and professional result.
- Clean the surface: Remove dust, dirt, and any flaking paint.
- Iron out wrinkles: Steam the wall if it's wrinkled or creased. Fill in cracks and holes, then sand until smooth.
- Prime if needed: For drywall or plaster, apply a wallpaper primer to provide a surface that will allow the mural to stick evenly.
Unroll and Check the Mural Panels
- Mural wallpapers usually consist of numbered panels to be installed in a special order. Unroll them and double-check:
- The quality of the print
- The panel sequence
- That all of your panels are there and in the same size as your wall
Mark Your Beginning Line
Draw a vertical line where you will be installing your first panel, using a level and pencil. This keeps your mural on track as you work.
Fix the Adhesive (or Peel and Stick)
- Depending on the kind of mural wallpaper you've bought:
- For classic paste-the-wall murals, apply adhesive to the wall evenly with a roller.
- For peel-and-stick murals, peel away a small area of the backing and apply from top to bottom, smoothing.
- Tip: Apply the top half of the panel first, smooth it down, and then peal more backing slowly to prevent bubbles or wrinkles.
Hang Each Panel Cautiously
- Precision is most needed at this point.
- Put the first panel along your guideline and smooth from the middle outwards.
- Align the next panel carefully to fit the image seamlessly. The majority of mural wallpapers are a butt join—this is the panels meeting edge-to-edge with no overlap.
- Remove any air bubbles using a wallpaper smoother or plastic spatula.
6. Trim and Tidy
- When all panels are up:
- Trim off excess wallpaper on edges and around outlets or windows using a sharp utility knife and metal straightedge.
- Scrape off excess adhesive using a damp sponge.
- Let the mural stand for 24 hours before relocating or decorating around it.
Pro Tips for a Seamless Appearance
- Always hang in a clean, temperature-regulated room to prevent adhesive drying too quickly.
- Apply painter's tape along ceilings and skirting boards to prevent mess.
- Don't hurry! Take your time aligning each panel.
Where to Purchase High-Quality Mural Wallpaper
All mural wallpapers are not equal. If you want to have a peel-and-stick one for quick installation or a classic paste-the-wall type for long-lasting durability, it is imperative that you source them from a reliable supplier.
Here's a comprehensive buying guide for mural wallpaper to assist you in selecting the ideal product for your room, taste, and budget.
Final Thoughts
Applying mural wallpaper may seem like a daunting task, but with proper preparation and technique, anyone can produce a seamless, flawless finish. From living rooms to bedrooms, offices to hallways, a beautiful mural wall can completely transform your room.