
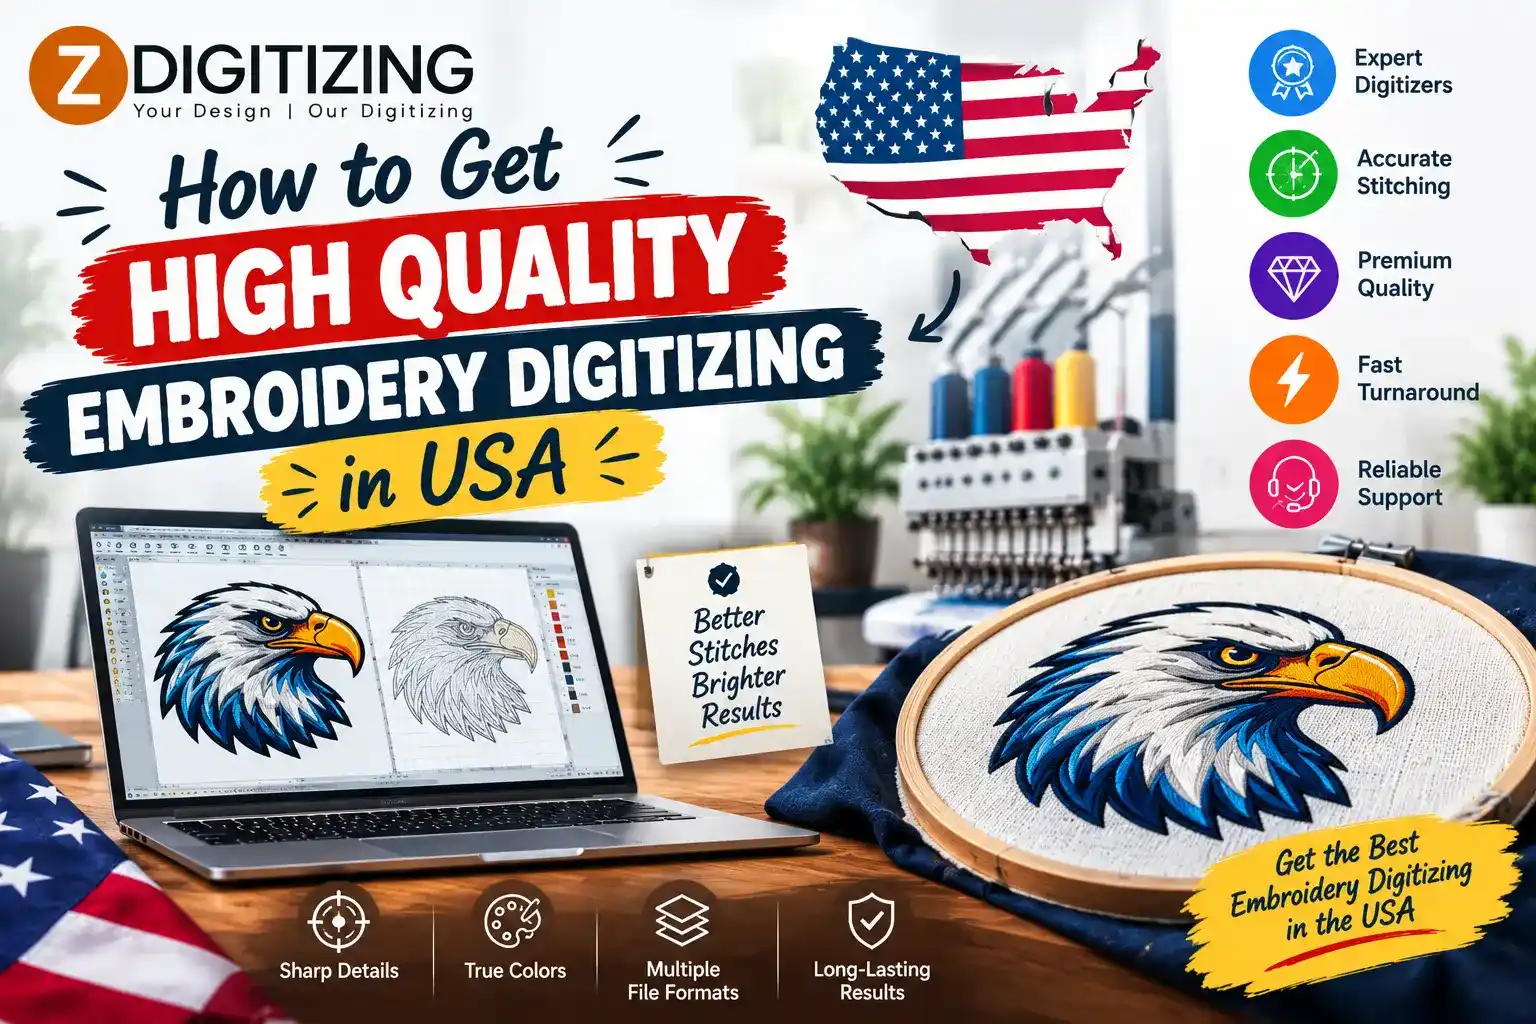

High quality embroidery digitizing is essential for creating clean, professional, and durable embroidered designs. Whether you need a company logo for uniforms, artwork for caps, lettering for jackets, or custom designs for an apparel business, the quality of the embroidery begins with the quality of the digitized file.
Embroidery machines do not stitch regular JPG, PNG, or other image files directly. They require a specialized embroidery file containing instructions about stitch placement, direction, density, color changes, and sewing order. A poorly prepared file can result in uneven stitches, distorted artwork, excessive thread buildup, puckering, or unreadable details.
For businesses and individuals in the USA, finding a reliable embroidery digitizing service can make the production process much easier. However, choosing a provider based only on price or turnaround time may not give you the results you need.
This guide explains how to get high quality embroidery digitizing in USA, what to look for in a professional service, and how to prepare your artwork for the best possible embroidery results.
What Is High Quality Embroidery Digitizing?
High quality embroidery digitizing is the process of creating an embroidery file that is carefully optimized for the intended design, fabric, size, and embroidery machine.
A professional digitized file should contain properly planned stitches rather than simply being an automatic image conversion.
The digitizer considers factors such as:
- Stitch type
- Stitch density
- Stitch direction
- Underlay
- Pull compensation
- Stitch sequence
- Thread colors
- Design dimensions
- Fabric type
- Machine requirements
The goal is to create a file that can reproduce the artwork clearly and efficiently when it is stitched.
Why Does Embroidery Digitizing Quality Matter?
The digitizing file directly influences how the finished embroidery looks.
Cleaner Embroidery
Proper stitch planning can create smoother borders, cleaner fills, and more consistent lettering.
Better Detail
A skilled digitizer knows how to simplify or adjust small details so they remain visible after stitching.
Improved Fabric Results
Correct density and underlay can help reduce problems such as puckering, distortion, and excessive thread buildup.
Efficient Machine Operation
A well-planned stitch sequence can reduce unnecessary jumps, trims, color changes, and machine movements.
Consistent Branding
Businesses often embroider the same logo on multiple garments. A properly prepared file can help maintain a consistent appearance across production runs.
How to Get High Quality Embroidery Digitizing in USA
Finding a suitable provider requires more than searching for the cheapest service. Consider several factors before submitting your artwork.
1. Look for a Professional Embroidery Digitizing Service
Start by searching for companies that specialize specifically in embroidery digitizing.
A provider that understands embroidery production should be able to discuss stitch types, density, underlay, fabric, design size, and machine formats.
Ask whether they have experience with the type of design you need.
For example, the requirements for a small shirt logo can be very different from those for a large jacket-back design or a cap logo.
2. Review the Digitizer’s Portfolio
A portfolio is one of the most useful ways to evaluate the quality of a digitizing provider.
Look for embroidery samples that are similar to your project.
Pay attention to:
- Smooth outlines
- Clear lettering
- Even stitch coverage
- Clean corners
- Consistent shapes
- Proper registration
- Well-defined details
If you need a detailed logo, do not rely only on samples of simple text. Look for examples that demonstrate the provider’s ability to handle complex artwork.
3. Choose a Service With Manual Digitizing Experience
Automatic conversion can be useful for basic designs, but high quality embroidery often requires manual adjustments.
Why Manual Digitizing Matters
A manual digitizer can decide how each part of the design should be constructed.
They can adjust stitch direction, density, underlay, sequencing, and other elements according to the design.
This level of control is particularly useful for:
- Detailed logos
- Small lettering
- Complex artwork
- Cap embroidery
- 3D puff designs
- Jacket-back embroidery
- Specialty fabrics
Manual digitizing does not mean every project must be created entirely from scratch, but it allows the design to be properly reviewed and optimized rather than relying solely on automatic conversion.
4. Provide a High-Quality Original Logo
The quality of your source artwork can affect the digitizing process.
Whenever possible, provide the clearest version of your logo or artwork.
Suitable source files may include:
- High-resolution PNG
- JPG
- SVG
- AI
- EPS
- Original vector artwork
Even if you only have a low-resolution image, a professional digitizer may still be able to work with it. However, additional artwork preparation may sometimes be required.
5. Tell the Digitizer the Exact Design Size
One of the most important pieces of information is the final embroidery size.
Tell the provider the intended width and height rather than simply sending the artwork without dimensions.
A logo embroidered at 3 inches wide may need different stitch planning from the same logo embroidered at 10 inches wide.
Why Design Size Matters
Very small designs may require simplified details and carefully planned lettering.
Large designs may accommodate additional detail but can require more stitches and production time.
The digitized file should ideally be created for the actual size in which it will be embroidered.
6. Specify the Fabric
Always tell your embroidery digitizer what material you plan to use.
Different fabrics react differently to needle penetration and thread tension.
Cotton
Cotton shirts and uniforms are common embroidery applications. The design still needs suitable density and stabilization.
Denim
Denim is heavier and can support different embroidery structures from lightweight fabrics.
Stretch Fabric
Stretch garments can move during embroidery, making stabilization and stitch planning especially important.
Fleece
Fleece has a soft surface that can affect how small details appear.
Caps
Caps have a curved surface and require careful consideration of stitch direction and design placement.
Towels
Towels have a textured surface, so fine details may need to be simplified.
Providing the fabric information allows the digitizer to make more appropriate design decisions.
7. Choose the Correct Stitch Types
A high quality embroidery design does not use one stitch type for everything.
Running Stitch
Running stitches are commonly used for outlines, fine lines, and narrow details.
Satin Stitch
Satin stitches are useful for lettering, borders, and narrow shapes that need a smooth embroidered appearance.
Fill Stitch
Fill stitches cover larger areas of artwork and can be adjusted for different textures and stitch directions.
The digitizer selects the stitch type according to the shape and size of each design element.
8. Pay Attention to Stitch Density
Stitch density refers to the spacing between stitches.
If the density is too high, the embroidery can become overly thick and may create unnecessary thread buildup or fabric stress.
If the density is too low, the design may have poor coverage and allow too much fabric to show through.
A professional digitizer balances density according to the design, fabric, thread, and stitch type.
9. Check Underlay Settings
Underlay provides a foundation beneath the visible stitches.
It can help stabilize the fabric and provide support for the top layer of embroidery.
The type and amount of underlay should be selected according to the design and material.
Too little foundation may result in weak coverage or movement, while excessive underlay can contribute to unnecessary bulk.
10. Make Sure Stitch Direction Is Properly Planned
Stitch direction can affect the texture and visual appearance of embroidery.
Changing stitch angles between different sections can help separate elements and create a more professional appearance.
Proper stitch direction can also help manage the way stitches pull on the fabric.
A skilled digitizer considers the direction of each section rather than using one angle throughout the entire design.
11. Review the Stitch Sequence
The embroidery machine follows the sequence contained in the digitized file.
A good sequence can reduce unnecessary movements and help maintain alignment.
It may also reduce:
- Thread trims
- Thread changes
- Jump stitches
- Production time
- Registration issues
The sequence becomes particularly important when a design contains several overlapping sections or multiple colors.
12. Ask for the Correct Machine Format
Different embroidery machines use different file formats.
Common formats include DST, PES, JEF, EXP, and others.
Before ordering, tell the digitizer which machine you are using or which file format you require.
A high quality digitizing service should be able to deliver the appropriate format for your equipment.
13. Ask About Test Stitching
One of the best ways to evaluate a digitized design is to stitch it on actual fabric.
A digital preview cannot always reveal how thread and fabric will interact.
Test stitching can identify:
- Puckering
- Poor registration
- Excessive density
- Weak outlines
- Unreadable lettering
- Incorrect stitch direction
- Design distortion
After testing, the digitizer can make adjustments to improve the file.
14. Check the Service’s Turnaround Time
Turnaround time is important when you are working with production deadlines.
Businesses may need embroidery files for uniforms, events, product launches, promotional campaigns, or customer orders.
Before placing an order, ask:
- How long will the design take?
- Does the turnaround include revisions?
- Is rush delivery available?
- When will the final files be sent?
- Does test stitching affect the delivery time?
Choose a provider whose timeline fits your project while still allowing enough time for proper digitizing and review.
15. Compare Pricing and What Is Included
The cost of embroidery digitizing can vary depending on design complexity.
A simple logo with two colors may require less work than a detailed illustration containing many elements.
When comparing prices, find out what is included in the service.
Check for These Details
- Number of file formats
- Design revisions
- Test stitching
- Color changes
- Complex artwork charges
- Rush fees
- Source files
- Future edits
Looking at the complete service package can provide a clearer understanding of the price.
16. Review the Revision Policy
Even a carefully prepared design may need adjustments after review or test stitching.
A service should clearly explain its revision policy.
Ask whether minor corrections are included and whether larger design changes require an additional charge.
A clear revision process can make it easier to improve the design before production.
17. Consider Customer Support
Good customer support can be particularly important for custom embroidery projects.
You may have questions about:
- Design size
- Fabric selection
- Thread colors
- Machine formats
- Stitching problems
- File revisions
- Production requirements
A provider that communicates clearly can help you resolve these questions before they affect production.
What Makes a High Quality Embroidery Digitizer Different?
A skilled digitizer does not simply trace the artwork.
They understand how artwork needs to be adapted for thread and fabric.
They Think About the Final Product
The digitizer considers where the design will be placed and how large it will be.
They Understand Fabric Behavior
Different materials require different approaches to stitch density, underlay, and stabilization.
They Optimize Stitch Paths
Efficient stitch paths can help reduce unnecessary machine movement.
They Know When to Simplify Artwork
Some digital details cannot be reproduced accurately with thread. A professional digitizer knows when simplification is necessary.
They Review the Finished File
The design should be checked before being used for production.
Common Problems Caused by Poor Digitizing
Low-quality digitizing can create several embroidery problems.
Puckering
Excessive stitch density or unsuitable design settings can contribute to fabric puckering.
Poor Registration
When design elements do not align properly, borders and colors can appear uneven.
Unreadable Text
Small lettering may become difficult to read when it is not digitized appropriately.
Thread Buildup
Too many stitches in a small area can create a thick or stiff result.
Excessive Thread Breaks
Poor stitch planning can contribute to unnecessary thread breaks during production.
Distorted Shapes
Incorrect stitch direction or compensation can affect the shape of embroidered elements.
These problems show why high quality embroidery digitizing is an important part of the production process.
How to Prepare Your Logo for High Quality Digitizing
You can make the digitizing process easier by providing complete project information.
Send Clear Artwork
Provide the highest-quality version of your logo available.
Mention the Exact Size
Tell the digitizer the final embroidery dimensions.
Specify the Fabric
Identify the material that will be embroidered.
Provide Color Information
Share brand colors or preferred thread colors when available.
Tell Them the Product Type
Mention whether the design will be used on a shirt, cap, jacket, bag, uniform, towel, or another product.
Provide Machine Information
Tell the digitizer which embroidery machine or file format you require.
Zdigitizing: High Quality Embroidery Digitizing and Vector Art Services
Zdigitizing is a trusted company providing embroidery digitizing and vector art services for businesses, apparel brands, embroidery shops, and individuals. The company helps prepare artwork for different embroidery applications, including logos, caps, jackets, lettering, detailed designs, and other custom embroidery projects.
Zdigitizing also provides vector art services for printing, promotional materials, signage, apparel graphics, and digital branding. These services can be useful for businesses that need consistent artwork across both embroidered and printed products.
Conclusion
Getting high quality embroidery digitizing in USA starts with choosing a service that understands both the artwork and the physical embroidery process. A professional digitizer considers design size, fabric, stitch types, density, direction, sequencing, underlay, colors, and machine requirements before creating the final file.
Before choosing a provider, review its portfolio, ask about manual digitizing, confirm file formats, provide complete project information, and consider whether test stitching and revisions are available.
The right preparation can help turn your logo or artwork into an embroidery design that is clear, practical, and suitable for production. Whether you need a single custom logo or files for ongoing commercial embroidery, careful digitizing is an important step toward consistent results.
Frequently Asked Questions
1. How can I get high quality embroidery digitizing in USA?
Look for a professional digitizing service with a relevant portfolio, experienced digitizers, clear communication, suitable file formats, and a process for reviewing or testing designs before production.
2. How much does high quality embroidery digitizing cost?
Pricing depends on factors such as design complexity, size, stitch count, number of colors, lettering, special effects, and turnaround time. Simple logos generally require less work than detailed designs.
3. What information should I give an embroidery digitizer?
Provide the original artwork, final embroidery size, fabric type, product type, preferred colors, embroidery placement, machine format, and any special requirements.
4. Is manual digitizing important for high quality embroidery?
Manual digitizing provides greater control over stitch types, density, direction, sequencing, and other settings. It can be particularly useful for detailed logos, small lettering, and specialized embroidery.
5. Why should I test stitch an embroidery design?
A test stitch shows how the digital file performs on actual fabric. It can reveal problems such as puckering, poor registration, excessive density, distorted details, or unreadable lettering before final production.