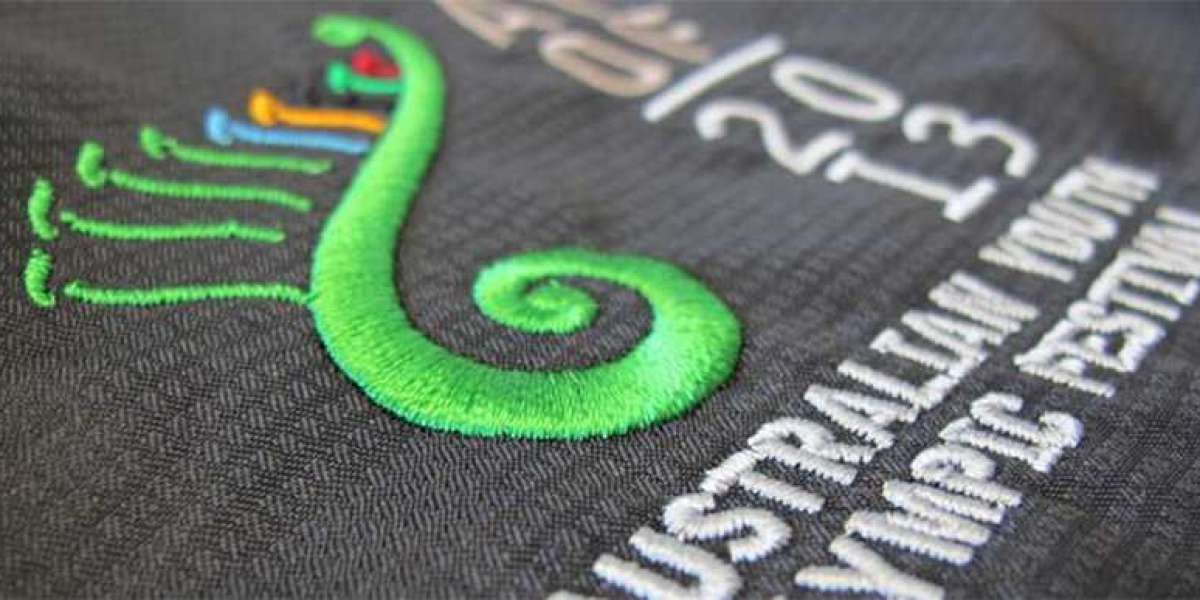
Ensuring A Perfect Fit For Your Embroidery Design
To ensure an embroidery design fits perfectly on any fabric, consider a few key factors. First, understand the fabric’s texture and thickness, as stretchy or thick materials may distort the design. Intricate designs and multiple colors may not suit all fabrics and could look cluttered. It’s crucial to use the right hoop size to avoid cutting off any elements of the design. Using a template helps with accuracy and consistent placement. Always test your design on a fabric sample to catch any potential issues. For complex projects, consult an embroidery expert for guidance.
Finding The Perfect Fit For Your Embroidery Design
When creating digitized embroidery designs, they must fit the surface. This could be a shirt, jacket, or any fabric. A digitized embroidery design that doesn’t fit properly can look odd, messy, or awkwardly placed. But with the right steps, you can ensure that your design not only fits but also enhances the overall look of your item. From using an embroidery size chart to understanding the embroidery design size guide, we’ve got you covered!
Why Size Matters In Embroidery Design?
The size of an embroidery design significantly impacts its overall look and feel on any fabric. Designs that are too large or too small can ruin the balance of the garment or product. Too small? Your intricate details might not be clear. Too large? The design might overwhelm the item or, worse, get distorted when stitched.
With custom digitized embroidery designs, size is crucial. It ensures a professional, pleasing look that matches your vision. It's not just about looks. Sizing affects how well the machine executes the design, especially with digital embroidery.
Using An Embroidery Size Chart For Precision
One of the best tools to ensure your design fits correctly is an embroidery size chart. This chart lists standard sizes for various fabric types. It ensures your design is just right, not too big or small.
Fabric Type | Recommended Design Size | Suggested Placement |
T-shirt (chest area) | 3" x 3" to 4" x 4" | Centered, 2" below collar |
Polo shirt (left chest) | 2.5" x 2.5" to 3" x 3" | Left chest, 7"-9" below shoulder seam |
Tote bag (front center) | 5" x 5" to 6" x 6" | Centered, middle of bag |
Hat (front center) | 2" x 2" to 2.5" x 2.5" | Centered, on front panel |
Jacket (back) | 10" x 10" to 12" x 12" | Centered on the back |
By using an embroidery size chart, you can determine the perfect size for any project. This ensures that when you create your machine embroidery designs, they fit perfectly and look just right.
Understanding The Embroidery Design Size Guide
An embroidery design size guide explains how designs will look on various garments and materials. It also helps you visualize the outcome before committing to the final size.
Different materials and surfaces have varying texture and stretch properties. For example, a design that looks great on cotton may need adjustments to fit nicely on stretchy materials like spandex or polyester. By consulting the embroidery design size guide, you can make adjustments and tweaks during the design process to ensure a perfect fit.
Tips for Using the Embroidery Design Size Guide:
- Consider the Fabric: Stretchy fabrics need smaller designs to prevent distortion.
- Account for Stitch Count: Larger designs mean more stitches, which can make the fabric heavy or stiff.
- Visual Balance: Make sure the design size complements the overall garment without overwhelming it.
How To Digitize Embroidery Designs With The Right Size
Digitizing embroidery designs means converting your art into a machine-readable stitch format. During this process, the size of the design is critical. If the design is not properly sized during the digitizing stage, it can lead to poor stitching quality or an off-centered look.
Key Considerations When Digitizing Embroidery Designs:
- Design Complexity: Simplify complex designs at smaller sizes. This prevents blurriness and illegibility.
- Stitch Density: Ensure that the stitch density matches the size. Too many stitches in a small design can make it bulky.
- Machine Specifications: Different machines handle various design sizes differently. Make sure to adjust your digitized embroidery designs according to the specifications of your machine.
Customizing Machine Embroidery Designs For Your Needs
Custom machine embroidery designs are often tailored to fit specific needs. Whether it's for a business logo on uniforms or personalized designs for a special occasion, making sure the design fits well is crucial.
When ordering or creating custom digitized embroidery designs, consider the following:
- Where will the design be placed? Think about placement when sizing. A small design for the chest of a shirt will be sized differently than a large design for the back.
- What is the purpose? If you’re creating a logo or artwork for promotion, size it to stand out without detracting from the item.
For digital embroidery designs, it's essential to preview the design on a mockup before finalizing. Mockups give you a sense of how the design will look on the actual fabric, helping to avoid sizing issues.
Tips To Ensure Proper Fit For Every Design
Ensuring that your digital machine embroidery designs fit properly doesn’t have to be complicated. By following these simple tips, you’ll be able to create and enjoy perfectly sized designs every time:
- Measure First: Always measure the item you’re going to embroider on. Take into account any seams, folds, or irregularities that might affect the final look.
- Mockups Are Your Friend: Preview the design using software or on a sample fabric to ensure the size is just right.
- Use the Right Tools: An embroidery size chart and a design size guide will save you time and headaches later.
Perfectly Sized Embroidery Designs
Getting the size right for your digitized embroidery designs is just as important as the design itself. Use an embroidery size chart, follow a custom digitizing process, and consult the design size guide. Then, your designs will look polished and professional.
Remember, it’s not just about what looks good on screen—it’s about how your machine embroidery designs look on the fabric in real life. So take the time to adjust, measure, and plan your design size for a perfect fit every time. With patience and the right approach, your designs will fit perfectly. They'll also impress with their stunning, precise results.