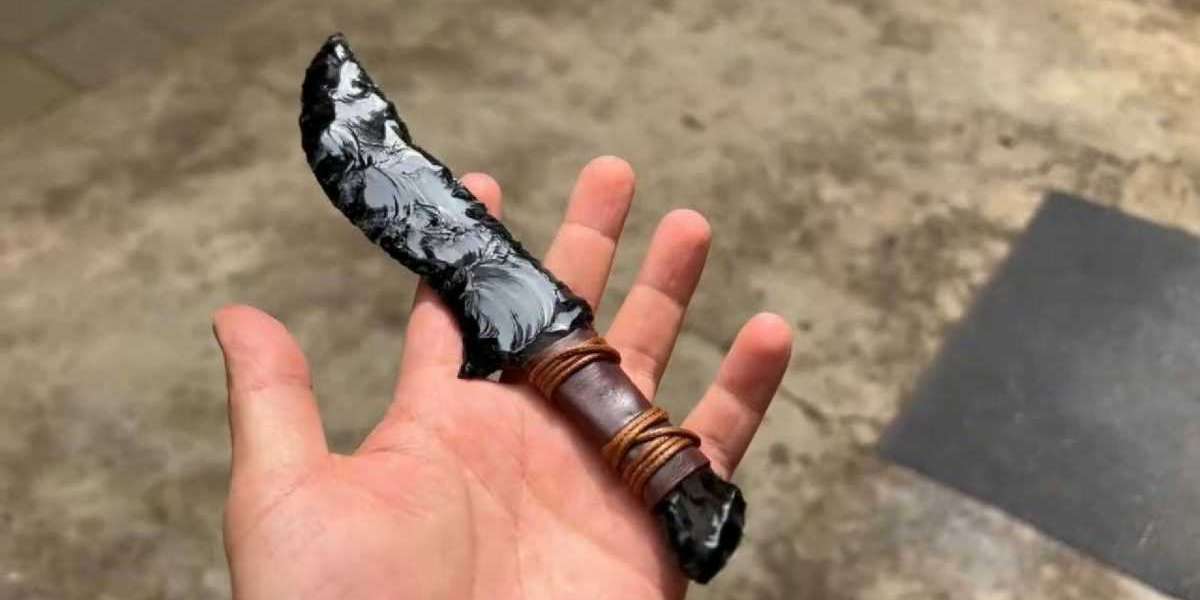
Obsidian knives, known for their sharpness and aesthetic allure, have been used since ancient times for their functional and artistic qualities. Today, crafting an obsidian knife at home is a rewarding hobby for those interested in primitive tools, survival gear, or unique handmade items. This guide will walk you through the process of creating an obsidian knife, from gathering materials to finishing touches.
Understanding Obsidian and Its Uses
What Is Obsidian?
Obsidian is a naturally occurring volcanic glass formed from rapidly cooling lava. Its brittle yet sharp properties make it ideal for crafting cutting tools.
Why Craft an Obsidian Knife?
- Sharpness: Obsidian edges can be sharper than steel blades.
- Aesthetic Appeal: The glossy, glass-like finish of obsidian is visually striking.
- Self-Reliance: Crafting your own tools fosters creativity and self-sufficiency.
Materials and Tools Needed
To create an obsidian knife at home, you’ll need:
- Obsidian: Obtain raw obsidian from geological supply stores or natural sources.
- Leather Gloves and Safety Goggles: For protection during flintknapping.
- Flintknapping Tools: Include pressure flakers, hammerstones, and abrading stones.
- Epoxy or Natural Resin: To secure the blade to the handle.
- Handle Material: Options include wood, bone, or antler.
- Sandpaper or Polishing Cloth: For finishing touches.
Step 1: Preparing the Obsidian
- Choose a Suitable Piece: Select an obsidian stone with minimal fractures.
- Clean the Obsidian: Wash off dirt and debris to prevent contamination.
- Shape the Core: Use a hammerstone to create a manageable piece, breaking off unwanted sections.
Step 2: Shaping the Blade
Technique: Flintknapping
- Position the Obsidian: Hold the stone securely with gloved hands.
- Flake the Edges: Use a pressure flaker to carefully remove small pieces, shaping the blade edge.
- Refine the Blade: Continue flintknapping until the blade reaches your desired shape and sharpness.
Step 3: Creating and Attaching the Handle
- Choose a Handle Material: Select a piece of wood, bone, or antler that feels comfortable in your hand.
- Carve the Handle: Hollow out a groove to fit the obsidian blade securely.
- Secure the Blade: Apply epoxy or natural resin to the groove and insert the blade.
- Reinforce the Connection: Wrap the handle with leather or sinew for additional stability.
Step 4: Polishing and Finishing
- Smooth the Blade: Use sandpaper or a polishing cloth to remove rough edges.
- Polish the Handle: Sand and oil the handle for a smooth finish.
- Inspect the Knife: Ensure the blade is secure and the edges are sharp.
Safety Precautions
- Always wear safety goggles and gloves while flintknapping.
- Work in a well-ventilated area to avoid inhaling dust particles.
- Handle the finished knife with care, as obsidian blades are extremely sharp and brittle.
Conclusion
Crafting an obsidian knife at home is both an art and a skill. By following these steps, you can create a functional and visually stunning tool while gaining a deeper appreciation for ancient craftsmanship. With patience and practice, your homemade obsidian knives can become a testament to your creativity and resourcefulness.


