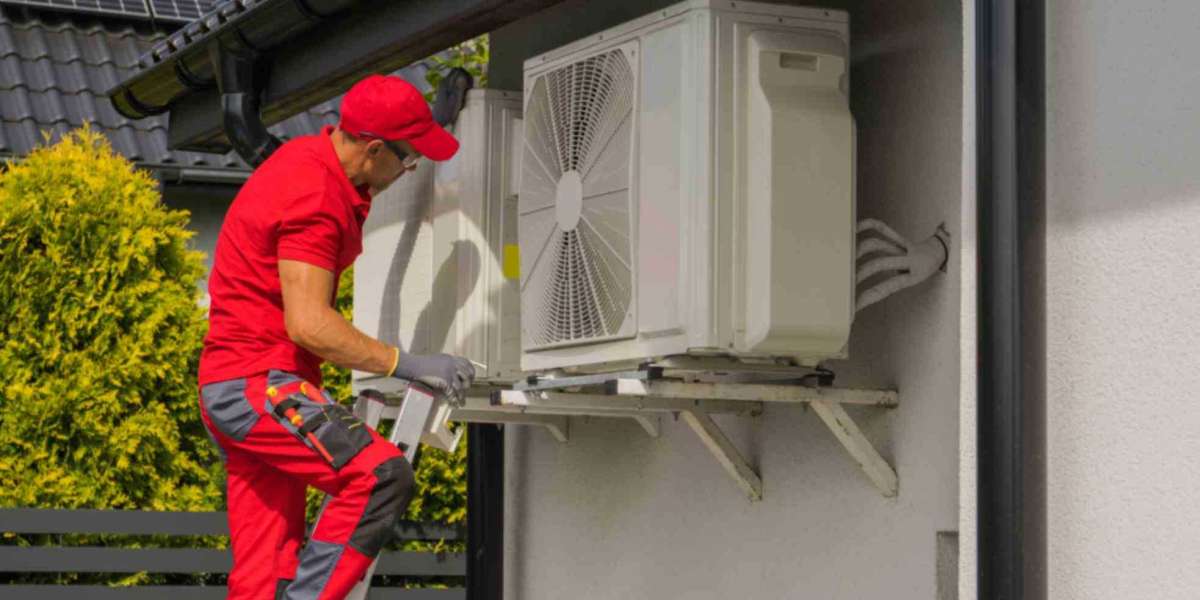
When it comes to heating and cooling your home efficiently, a 5-ton heat pump package unit offers a reliable solution for larger American homes and light commercial spaces. Whether you’re upgrading your HVAC system or tackling a fresh installation, understanding the process can save you time, money, and unnecessary headaches. In this guide, we break down the installation process step-by-step, tailored for homeowners in the United States.
Why Choose a 5 Ton Heat Pump Package Unit?
Before diving into the installation steps, let’s highlight why a 5-ton heat pump is the go-to choice for many:
Energy Efficiency: Heat pumps transfer heat rather than generate it, making them highly efficient for both heating and cooling.
Large Capacity: A 5-ton unit is designed to handle larger homes or spaces, typically ranging from 2,500 to 3,000 square feet.
All-in-One Solution: Package units combine all components into one outdoor unit, reducing indoor clutter and simplifying maintenance.
Step 1: Assess Your Space and Requirements
Assessing your home's heating and cooling requirements should come first. Here’s what to consider:
Size of the Space: Confirm that a 5-ton unit matches the square footage and insulation level of your home.
Local Climate: Heat pumps perform differently in extreme climates. For colder regions, consider a model with supplemental heating capabilities.
Permits and Codes: Check local building codes and secure necessary permits before starting the installation process.
Pro Tip: Consult a licensed HVAC professional to conduct a load calculation and ensure the unit is the right fit.
Step 2: Prepare the Installation Site
Proper site preparation is crucial for optimal performance and longevity:
Choose a Level Surface: The unit should sit on a concrete slab or sturdy platform that is level and slightly elevated to prevent water pooling.
Clear the Area: Remove debris, overgrown vegetation, or obstacles near the installation site to ensure proper airflow.
Plan for Accessibility: Ensure enough clearance around the unit for maintenance and repairs.
Pro Tip: Position the unit away from bedrooms or quiet spaces to minimize noise disturbances.
Step 3: Position and Secure the Unit
Once the site is ready, position the heat pump package unit:
Lift with Care: Use a dolly or forklift to move the unit into place, avoiding damage to the base or components.
Anchor the Unit: Secure the unit to the concrete slab using mounting brackets or anchors to prevent movement during high winds.
Check Alignment: Confirm the unit is level to avoid drainage issues and ensure efficient operation.
Step 4: Connect Electrical Wiring
Safety first! Always turn off power to the installation area before handling electrical connections:
Run Electrical Lines: Install a dedicated circuit from your main electrical panel to the unit.
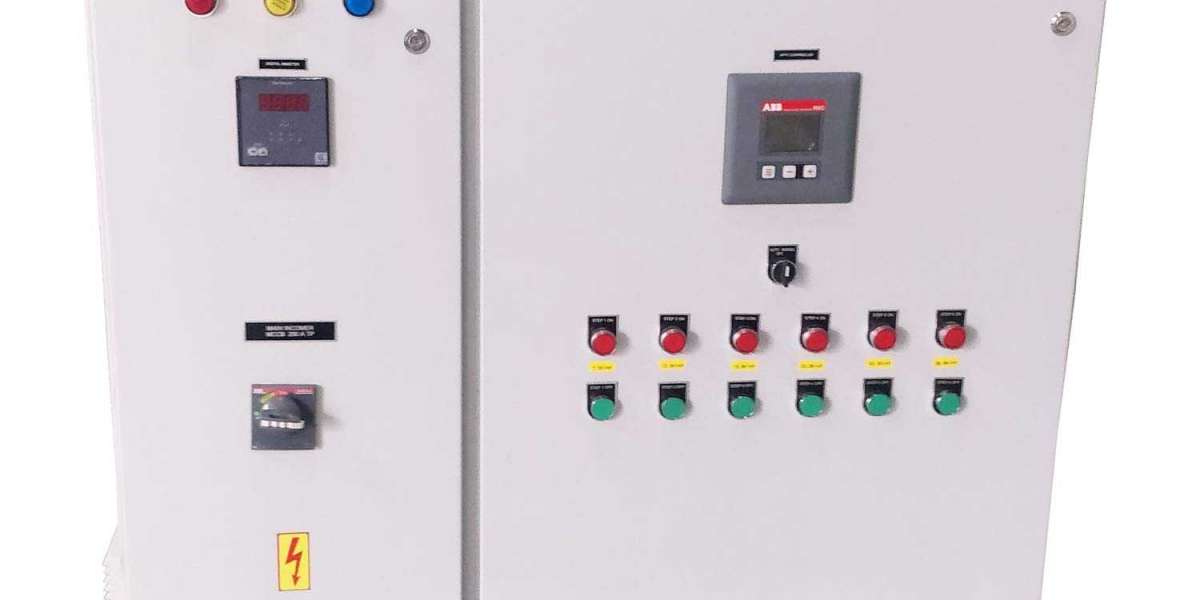
Connect the Disconnect Box: Mount a disconnect box near the unit and wire it according to the manufacturer’s instructions.
Wire the Unit: Connect the unit’s power and control wires, ensuring all connections are tight and secure.
Pro Tip: Hire a licensed electrician to handle this step if you’re unfamiliar with electrical work.
Step 5: Install Refrigerant Lines and Ductwork
Proper connections are key to the unit’s performance:
Refrigerant Lines: Attach the pre-charged refrigerant lines, ensuring no leaks. Follow the manufacturer’s specifications for proper sealing.
Ductwork: Connect the unit to your home’s duct system. Seal all joints with metal tape or mastic to prevent air leaks.
Insulation: Insulate refrigerant lines to minimize energy loss.
Step 6: Set Up the Thermostat
Install a suitable thermostat to efficiently manage your heat pump:
Positioning: Place the thermostat on an interior wall, away from direct sunlight or drafts.
Wiring: Connect the thermostat to the unit following the wiring diagram provided.
Programming: Set initial temperature and mode preferences for heating and cooling.
Pro Tip: For improved energy efficiency and remote control, think about getting a smart thermostat.
Step 7: Test the System
Make sure everything is working properly by testing the system before completing the installation:
Turn on the Power: Bring the thermostat and unit back online.
Check Heating and Cooling: Run the unit in both modes to confirm it’s operating efficiently.
Inspect for Issues: Listen for unusual noises, check airflow, and verify that the thermostat is responding properly.
Pro Tip: Use a digital thermometer to measure the temperature difference between the supply and return air for accurate performance evaluation.
Step 8: Schedule Professional Inspection
Even if you’ve handled the installation yourself, it’s wise to schedule a professional inspection to:
Verify all connections are secure.
Check refrigerant levels.
Ensure compliance with local codes and regulations.
Conclusion
Installing a 5-ton heat pump package unit can be a rewarding project that enhances your home’s comfort and energy efficiency. By following these steps and taking the time to prepare, you can ensure a successful installation. For those unsure about tackling the job themselves, professional HVAC contractors are always available to help.


