Keeping your heating, ventilation, and air conditioning (HVAC) ducts clean is essential for maintaining indoor air quality and system efficiency. Over time, dust, debris, and even mold can accumulate in your ducts, impacting your home's air quality and potentially driving up energy costs. While professional cleaning is sometimes necessary, you can clean your ducts yourself with the right tools and steps. Here is a step-by-step guide on how to clean heating and air conditioning ducts yourself.
Tools You’ll Need:
- Screwdriver
- Vacuum cleaner (preferably with a hose and brush attachment)
- Microfiber cloths or cleaning rags
- Soft-bristled brush
- Bucket of soapy water
- Protective gloves and mask
- Flashlight
Step-by-Step Guide to Cleaning Your Ducts
1. Turn Off Your HVAC System
Before starting, switch off your HVAC system to prevent any airflow while you work. This step ensures safety and keeps dust from spreading throughout your home during cleaning.
2. Remove and Clean Vent Covers
Use a screwdriver to remove the vent covers or grilles. Place them in a sink or bucket filled with warm, soapy water to soak. Scrub gently with a brush to remove accumulated grime, then rinse and set them aside to dry.
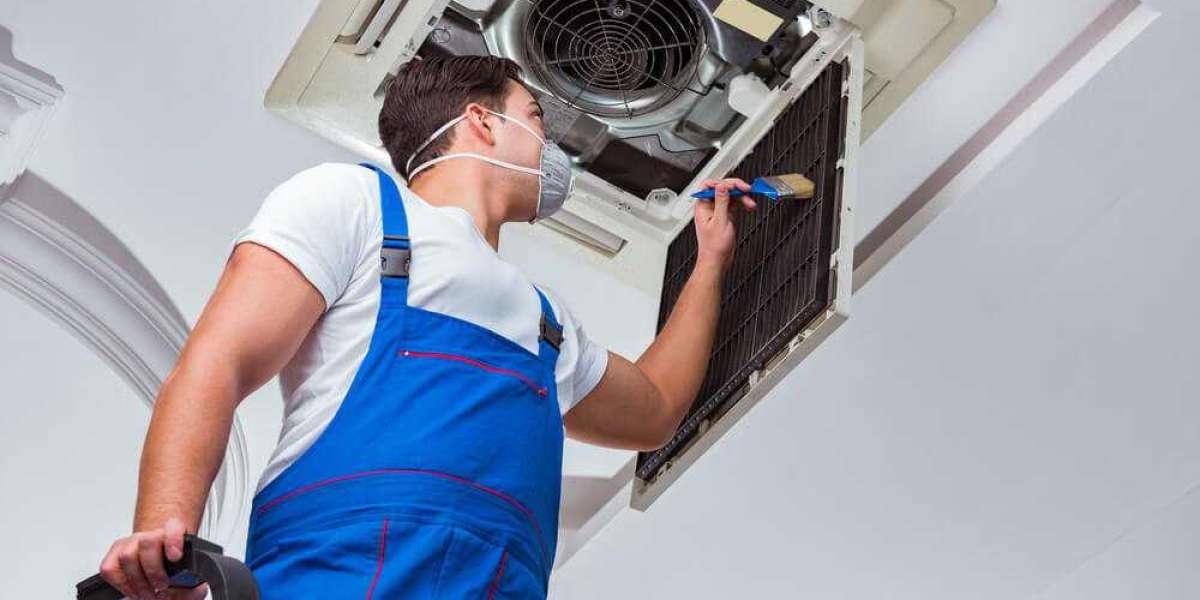
3. Vacuum Inside the Ducts
Attach a long hose to your vacuum cleaner, ideally one with a brush attachment. Insert the hose into the duct as far as it can go, then move it around to collect dust and debris. Use a flashlight to ensure you reach all visible areas.
4. Scrub the Walls of the Duct
Wrap a microfiber cloth around a flexible brush and use it to scrub the walls of the duct. This helps dislodge stubborn dirt and improves airflow. Avoid using harsh chemicals that might damage the ducts or leave a lingering odor.
5. Clean the Registers and Return Air Grilles
Registers and return air grilles often accumulate dust and debris. Wipe them with a damp microfiber cloth, then use the vacuum hose to remove any buildup from the connecting duct areas.
6. Inspect for Mold or Mildew
While cleaning, look for signs of mold or mildew, such as a musty smell or dark spots. If you suspect mold, consider using a commercial mold cleaner or contacting a professional for further inspection.
7. Wipe Down the Duct Opening
Use a damp cloth to clean around the opening of the duct, removing any remaining dust or grime.
8. Replace the Air Filter
Your HVAC system’s air filter plays a crucial role in maintaining clean ducts. Replace it with a new, high-quality filter after cleaning to help trap airborne particles and improve air quality.
9. Reassemble the System
Once everything is clean and dry, reinstall the vent covers and turn your HVAC system back on. Run the system to ensure it's working efficiently and circulating clean air.
Tips for Keeping Your Ducts Clean
- Regular Maintenance: Clean your ducts every 1-2 years or as needed. If you notice excessive dust or reduced airflow, it might be time for a cleaning.
- Change Filters Frequently: Replace HVAC filters every 1-3 months, depending on usage and the type of filter you use.
- Seal Duct Leaks: Inspect your ducts for leaks or gaps, which can introduce dust and debris into the system. Seal them with duct tape or professional-grade mastic.
- Control Dust in Your Home: Regularly vacuum carpets, clean surfaces, and minimize clutter to reduce dust accumulation.
When to Call a Professional
DIY cleaning is effective for routine maintenance, but certain situations call for professional help. If you notice persistent mold, strange odors, or significant blockages, hiring an HVAC technician is recommended. Professionals have specialized tools and expertise to thoroughly clean and inspect your system.
Final Thoughts
Cleaning your HVAC ducts yourself can be a rewarding and cost-effective way to improve your home’s air quality and system efficiency. By following these steps and maintaining your system regularly, you can ensure a healthier and more comfortable living environment for you and your family.