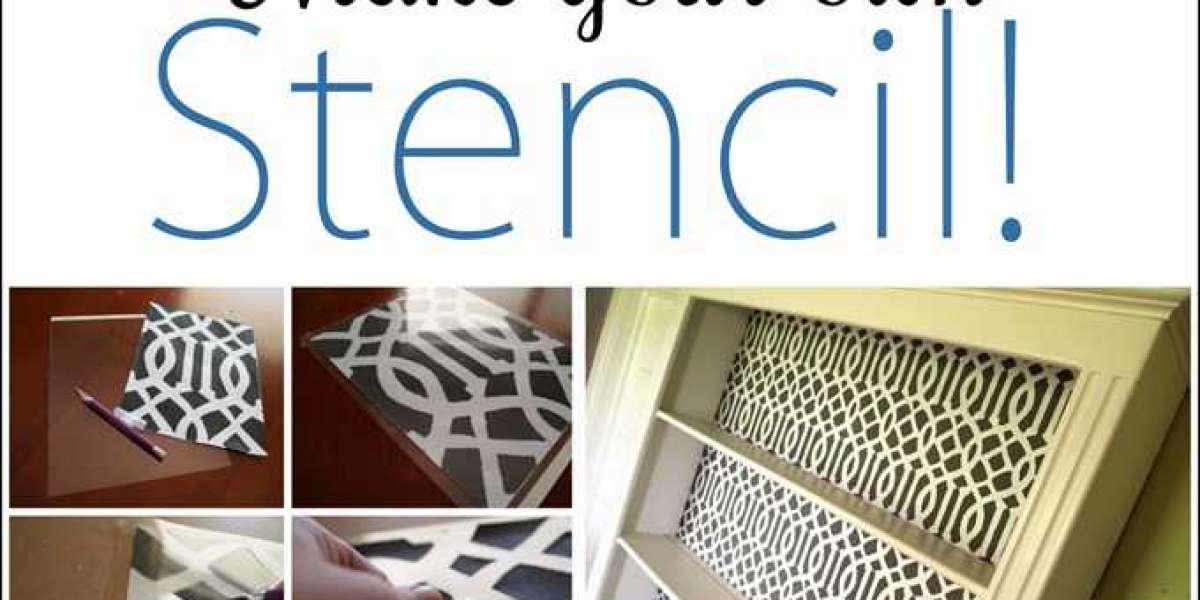
Have you ever wanted to add a personal touch to your art, walls, or clothing? Creating your own stencil can open up a world of possibilities for customization and self-expression. With a bit of patience and creativity, you can turn any idea into a beautiful stencil design that enhances any space or object. Let's dive into the exciting world of stencil-making and explore the steps to create your own!
What is a Stencil?
A stencil is a thin sheet or template with cut-out designs or shapes, allowing you to transfer the pattern onto another surface by applying paint or ink through the openings. Stencils are often used in art, home décor, and crafting. By controlling the design, stencils make it easy to replicate shapes, letters, or images consistently.
Why Create Your Own Stencil?
Create your own stencil offers endless possibilities. You can craft unique designs that reflect your personality, suit a particular project, or fit into a specific theme. Whether you're updating a piece of furniture, decorating a wall, or creating custom clothing, a DIY stencil adds an original touch that ready-made options can’t.
Materials Needed
Before you start, gather the following materials:
- Stencil material: Choose from plastic sheets, acetate, cardboard, or mylar.
- Cutting tool: A precision craft knife or utility knife works well.
- Self-healing cutting mat: Protects surfaces and helps achieve clean cuts.
- Stencil adhesive spray: Holds the stencil in place while you work.
- Pencil or marker: For tracing your design onto the stencil material.
Choosing Your Design
When selecting a design, think about the stencil’s purpose. Are you creating a geometric pattern, a floral motif, or perhaps a custom phrase? If you’re not a confident artist, look online for inspiration or printable designs. Remember, stencils with simple shapes and fewer intricate details are easier to cut and use effectively.
Preparing Your Work Area
Before you begin cutting, ensure you have a dedicated space to work safely. Place your cutting mat on a stable surface with enough lighting. Have your tools within reach to avoid interruptions, and make sure to handle the cutting tool with care to avoid injuries.
Tracing and Cutting the Stencil
Once you've chosen your design and set up your workspace, it’s time to trace and cut:
- Trace your design: Lay your stencil material over the design and carefully trace it with a pencil or marker.
- Cut out the design: Using your craft knife, start cutting along the traced lines. Take it slow and steady to ensure smooth, clean cuts.
- Remove cut pieces: Carefully push out the cut sections to reveal your stencil.
Remember, cutting a stencil is a bit like peeling an apple: the slower and more precise you go, the better the outcome!
Testing Your Stencil
Before applying your stencil to the final surface, do a test run. Place the stencil on a piece of scrap paper or cardboard, secure it with adhesive spray, and apply your paint or ink through the stencil. This test will help you spot any areas that may need additional cutting or adjustments.
Tips for Effective Stenciling
Here are some pro tips to help you get the best results:
- Use a minimal amount of paint: Too much paint can cause bleeding. A sponge or roller with minimal paint works well.
- Dab, don’t brush: Dab the paint in a gentle up-and-down motion rather than brushing side-to-side.
- Secure the stencil properly: An adhesive spray or low-tack tape can help hold the stencil steady, reducing the chance of smudging.
Caring for Your Stencils
With proper care, stencils can be reused multiple times. Clean them immediately after use with warm soapy water, especially if you’re using acrylic paint, which dries quickly. Dry your stencil gently and store it flat to prevent warping or bending.
Creative Ideas for Stencil Use
The uses for stencils are as broad as your imagination. Here are some ideas:
- Home décor: Create wall art, update cabinets, or design unique patterns on furniture.
- Clothing: Add personalized graphics to t-shirts, jeans, or tote bags.
- Stationery and crafts: Use stencils to decorate notebooks, cards, or planners.
- Holiday decorations: Create seasonal designs for Halloween, Christmas, or birthdays.
With your own stencils like yo have from go stencil, you have a tool for endless creativity, giving you the power to customize almost anything you can think of!
Conclusion
Creating your own stencil is a rewarding process that allows for creativity and personalization in your projects. Whether you're stenciling walls, crafting, or adding flair to clothing, this simple yet impactful DIY activity opens up many artistic possibilities. Start with a few basic supplies, a bit of patience, and see where your imagination takes you!
Frequently Asked Questions
- Can I reuse a stencil multiple times?
Yes! With proper cleaning and storage, stencils made from durable materials can be reused many times.
- What’s the best paint to use with stencils?
Acrylic paint is a popular choice, but fabric paint or spray paint works well, depending on the surface.
- How do I prevent my stencil from shifting?
Using a light adhesive spray or painter's tape will help hold your stencil in place, reducing the chances of smudging.
- Can I create stencils on my computer?
Yes, you can design stencils digitally using software, then print them or transfer the design to a cutting material.
- What surfaces can I stencil on?
You can stencil on various surfaces such as walls, wood, fabric, glass, and metal. Ensure the paint or ink you use is suitable for the surface type.


