Floor fitting is an essential part of home improvement, transforming the look and feel of a room. Whether you are installing hardwood, laminate, or carpet, the quality of the floor fitting can make a significant difference in the overall outcome. Mistakes during floor fitting can lead to poor aesthetics, premature wear and tear, and even costly repairs. To help you avoid common pitfalls, we’ve compiled a list of the 10 most frequent mistakes in floor fitting and how to steer clear of them. By learning about these mistakes, you can ensure that your floor fitting process goes smoothly and lasts for years to come.
1. Not Acclimating the Flooring Before Installation
One of the most common mistakes in floor fitting is neglecting to acclimate the flooring to the room’s temperature and humidity before installation. Wood and laminate flooring, in particular, are sensitive to changes in temperature and humidity, and failing to acclimate them can lead to expansion or contraction once they are laid down.
How to Avoid It: Before installation, allow your flooring to sit in the room where it will be installed for at least 48 hours. This allows the flooring to adjust to the room’s temperature and humidity, preventing issues such as warping or gaps between planks after installation.
2. Incorrectly Measuring the Room
Accurate measurements are crucial for a successful floor fitting. Many DIYers make the mistake of not measuring the room properly, resulting in a flooring layout that doesn’t fit well or requires excessive trimming. This can lead to wasted materials and an uneven, unprofessional finish.
How to Avoid It: Always measure the room twice before purchasing your flooring. Use a tape measure and record the length and width of the room. When buying flooring materials, make sure to add 5-10% to your measurements to account for cuts and waste. For irregularly shaped rooms, use a piece of paper or software to help plan the layout more accurately.
3. Skipping the Subfloor Preparation
A common mistake that can undermine the quality of your floor fitting is not properly preparing the subfloor. If the subfloor is uneven, damaged, or dirty, it can cause the flooring to shift, warp, or create noise when walked on.
How to Avoid It: Before beginning the floor fitting process, inspect the subfloor for any damage or irregularities. Clean the surface thoroughly to remove dirt and debris. If the subfloor is uneven, use a leveling compound to create a smooth, flat surface. In cases of water damage or mold, replace the affected areas of the subfloor before continuing.
4. Not Using the Proper Underlayment
Underlayment is an essential part of floor fitting, especially for laminate, engineered wood, or vinyl flooring. Not using the right underlayment or skipping it entirely can lead to sound issues, instability, and damage over time.
How to Avoid It: Choose the appropriate underlayment based on your type of flooring. Some underlayment options also provide moisture protection, while others improve sound insulation. Always follow the manufacturer’s recommendations for the underlayment to ensure the longevity and performance of your floor. For example, laminate flooring often requires foam underlayment, while hardwood floors might need cork or felt underlayment.
5. Installing the Floor in the Wrong Direction
Another common mistake in floor fitting is installing the flooring in the wrong direction. Flooring planks should typically run parallel to the longest wall or the light source in the room, as this creates a more visually appealing look and can make the room appear larger.
How to Avoid It: Before beginning installation, plan the direction of your flooring. For hardwood and laminate floors, the planks should generally run from the entrance to the farthest wall, especially in long, narrow rooms. Take into account the layout of the room and any existing architectural features, such as beams or windows, that could influence the direction of the planks.
6. Not Leaving an Expansion Gap
Leaving an expansion gap around the edges of the flooring is essential for allowing the material to expand and contract with temperature and humidity changes. Failing to leave this gap can result in buckling, warping, or gaps between planks.
How to Avoid It: Leave a 1/4-inch gap between the flooring and the walls, cabinets, and other fixed objects. This gap allows the material to move freely without becoming compressed or damaged. Once the flooring is installed, you can cover the gap with baseboards or molding to give it a clean, finished look.
7. Forgetting to Check for Moisture Issues
Moisture can be a significant issue for many types of flooring, especially in basements, kitchens, or bathrooms. Ignoring moisture problems in the subfloor or room environment can lead to swelling, warping, or mold growth on your floors.
How to Avoid It: Before installing any flooring, check for moisture problems. Use a moisture meter to test the subfloor for excess moisture, especially in areas prone to dampness, such as basements or areas with plumbing. If you find high moisture levels, install a vapor barrier or moisture-resistant underlayment to protect your new floors. In some cases, it may be necessary to address underlying moisture issues before continuing with floor fitting.
8. Not Staggering the Seams
One of the most important aspects of floor fitting is properly staggering the seams of the flooring planks. Failing to stagger the seams results in a less visually appealing pattern and can weaken the integrity of the floor.
How to Avoid It: When laying down the first row of flooring, ensure that the seams of the planks are staggered by at least 6 inches from the adjacent row. This helps to create a more natural, random look and also strengthens the overall flooring structure. Make sure to mix up planks from different boxes to achieve the best look.
9. Using the Wrong Tools
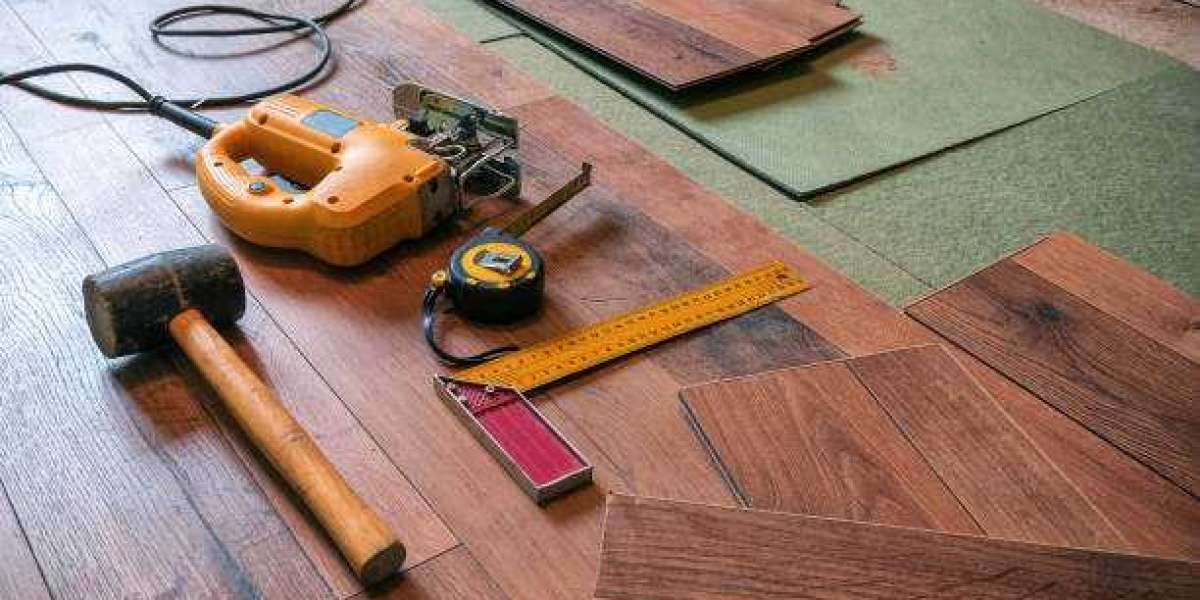
Using incorrect or improper tools during the floor fitting process can result in mistakes, damage to the flooring, and a longer installation time. For example, using a regular hammer instead of a rubber mallet can cause damage to the edges of the laminate or wood planks.
How to Avoid It: Make sure you have all the necessary tools before starting the installation. Some essential tools include a rubber mallet, tapping block, pull bar, saw, utility knife, and measuring tape. If you’re unsure about the right tools for the job, consult with a professional or a flooring services provider to ensure you’re using the correct equipment for your flooring type.
10. Rushing the Installation Process
Floor fitting can be a time-consuming process, and rushing through it is a common mistake. Hurrying the job can lead to sloppy cuts, misaligned seams, and an uneven floor that will require costly repairs down the road.
How to Avoid It: Take your time during the installation process. If you need to take breaks, do so, but avoid rushing through any part of the job. Ensure each plank is aligned correctly and tap each plank gently into place. Double-check measurements and make any necessary adjustments before continuing with the next row.
Conclusion
Installing a new floor is a rewarding project that can greatly enhance the aesthetic and value of your home. However, floor fitting is a task that requires precision and attention to detail. Avoiding the common mistakes listed above will help you achieve a professional-looking floor that will stand the test of time. If you’re unsure about your ability to install flooring yourself or want to ensure the best results, consider hiring flooring services. A professional installer can guarantee a high-quality finish, saving you time and potential mistakes.


