
Most advice on putting a logo onto a gift box is organised by order quantity: laser for small runs, hot foil for medium, embossing for large. That logic comes from folding cartons, where the surface is a printed sheet or a laminated film and almost anything can be applied to it.
Wooden and leather boxes do not work that way. The surface is not a substrate you print on — it is a table the process has to sit on. Three tables exist, and each accepts a different set of processes.
Table one: gloss lacquer
Flat, smooth, mirror-like. Transfer processes sit well here.
Hot foil presses a heated metal die through metallic foil onto the lacquer, leaving a bright mark. It holds fine lines and small type better than anything else on this surface, which is why it reads as formal. A die has to be made, so it rewards volume.
Screen printing pushes a single flat colour through a mesh directly onto the lacquer. Cheaper and faster than foil for solid logos, but adhesion must be tested on the actual coating before production — a screen print that lifts is worse than no print.
UV printing lays full-colour artwork, gradients and illustration onto the surface. The only option when the logo is multicolour.
Table two: solid wood grain
Textured, oily, uneven in tone. Processes that cut into the material or sit on top of it are the ones that work.
Engraving cuts into the timber along the grain with a CNC head. The recess cannot fade or rub off, and pale species show the contrast best. Timber that is too soft will fray at the cut edge.
Relief carving goes deeper, producing a design with real height and shadow. It consumes tool paths and hours — the premium option on solid wood.
Veneer marquetry assembles different natural veneers into a pattern, using the wood’s own colour rather than ink. Everything depends on the precision of the joints; a misaligned seam is visible at a glance.
Mother-of-pearl inlay sets thin shell cut into the lacquer, shifting colour as the angle changes. Hand work, long lead time, collector level.
Metal plate is made off-site and set or screwed on in-house — common on solid wood where the brand wants an industrial or mechanical read.
One process deserves separate mention: UV metal transfer applies a metallic layer beneath the topcoat so the lacquer seals it in. The metal is never exposed, so it cannot scratch or oxidise, and it still looks new years later. It is the high-end answer on gloss lacquer for brands that want metal without a physical plate.
Table three: leather
Soft, tensioned, and it springs back under pressure. Processes that rely on heat and pressure are the stable ones.
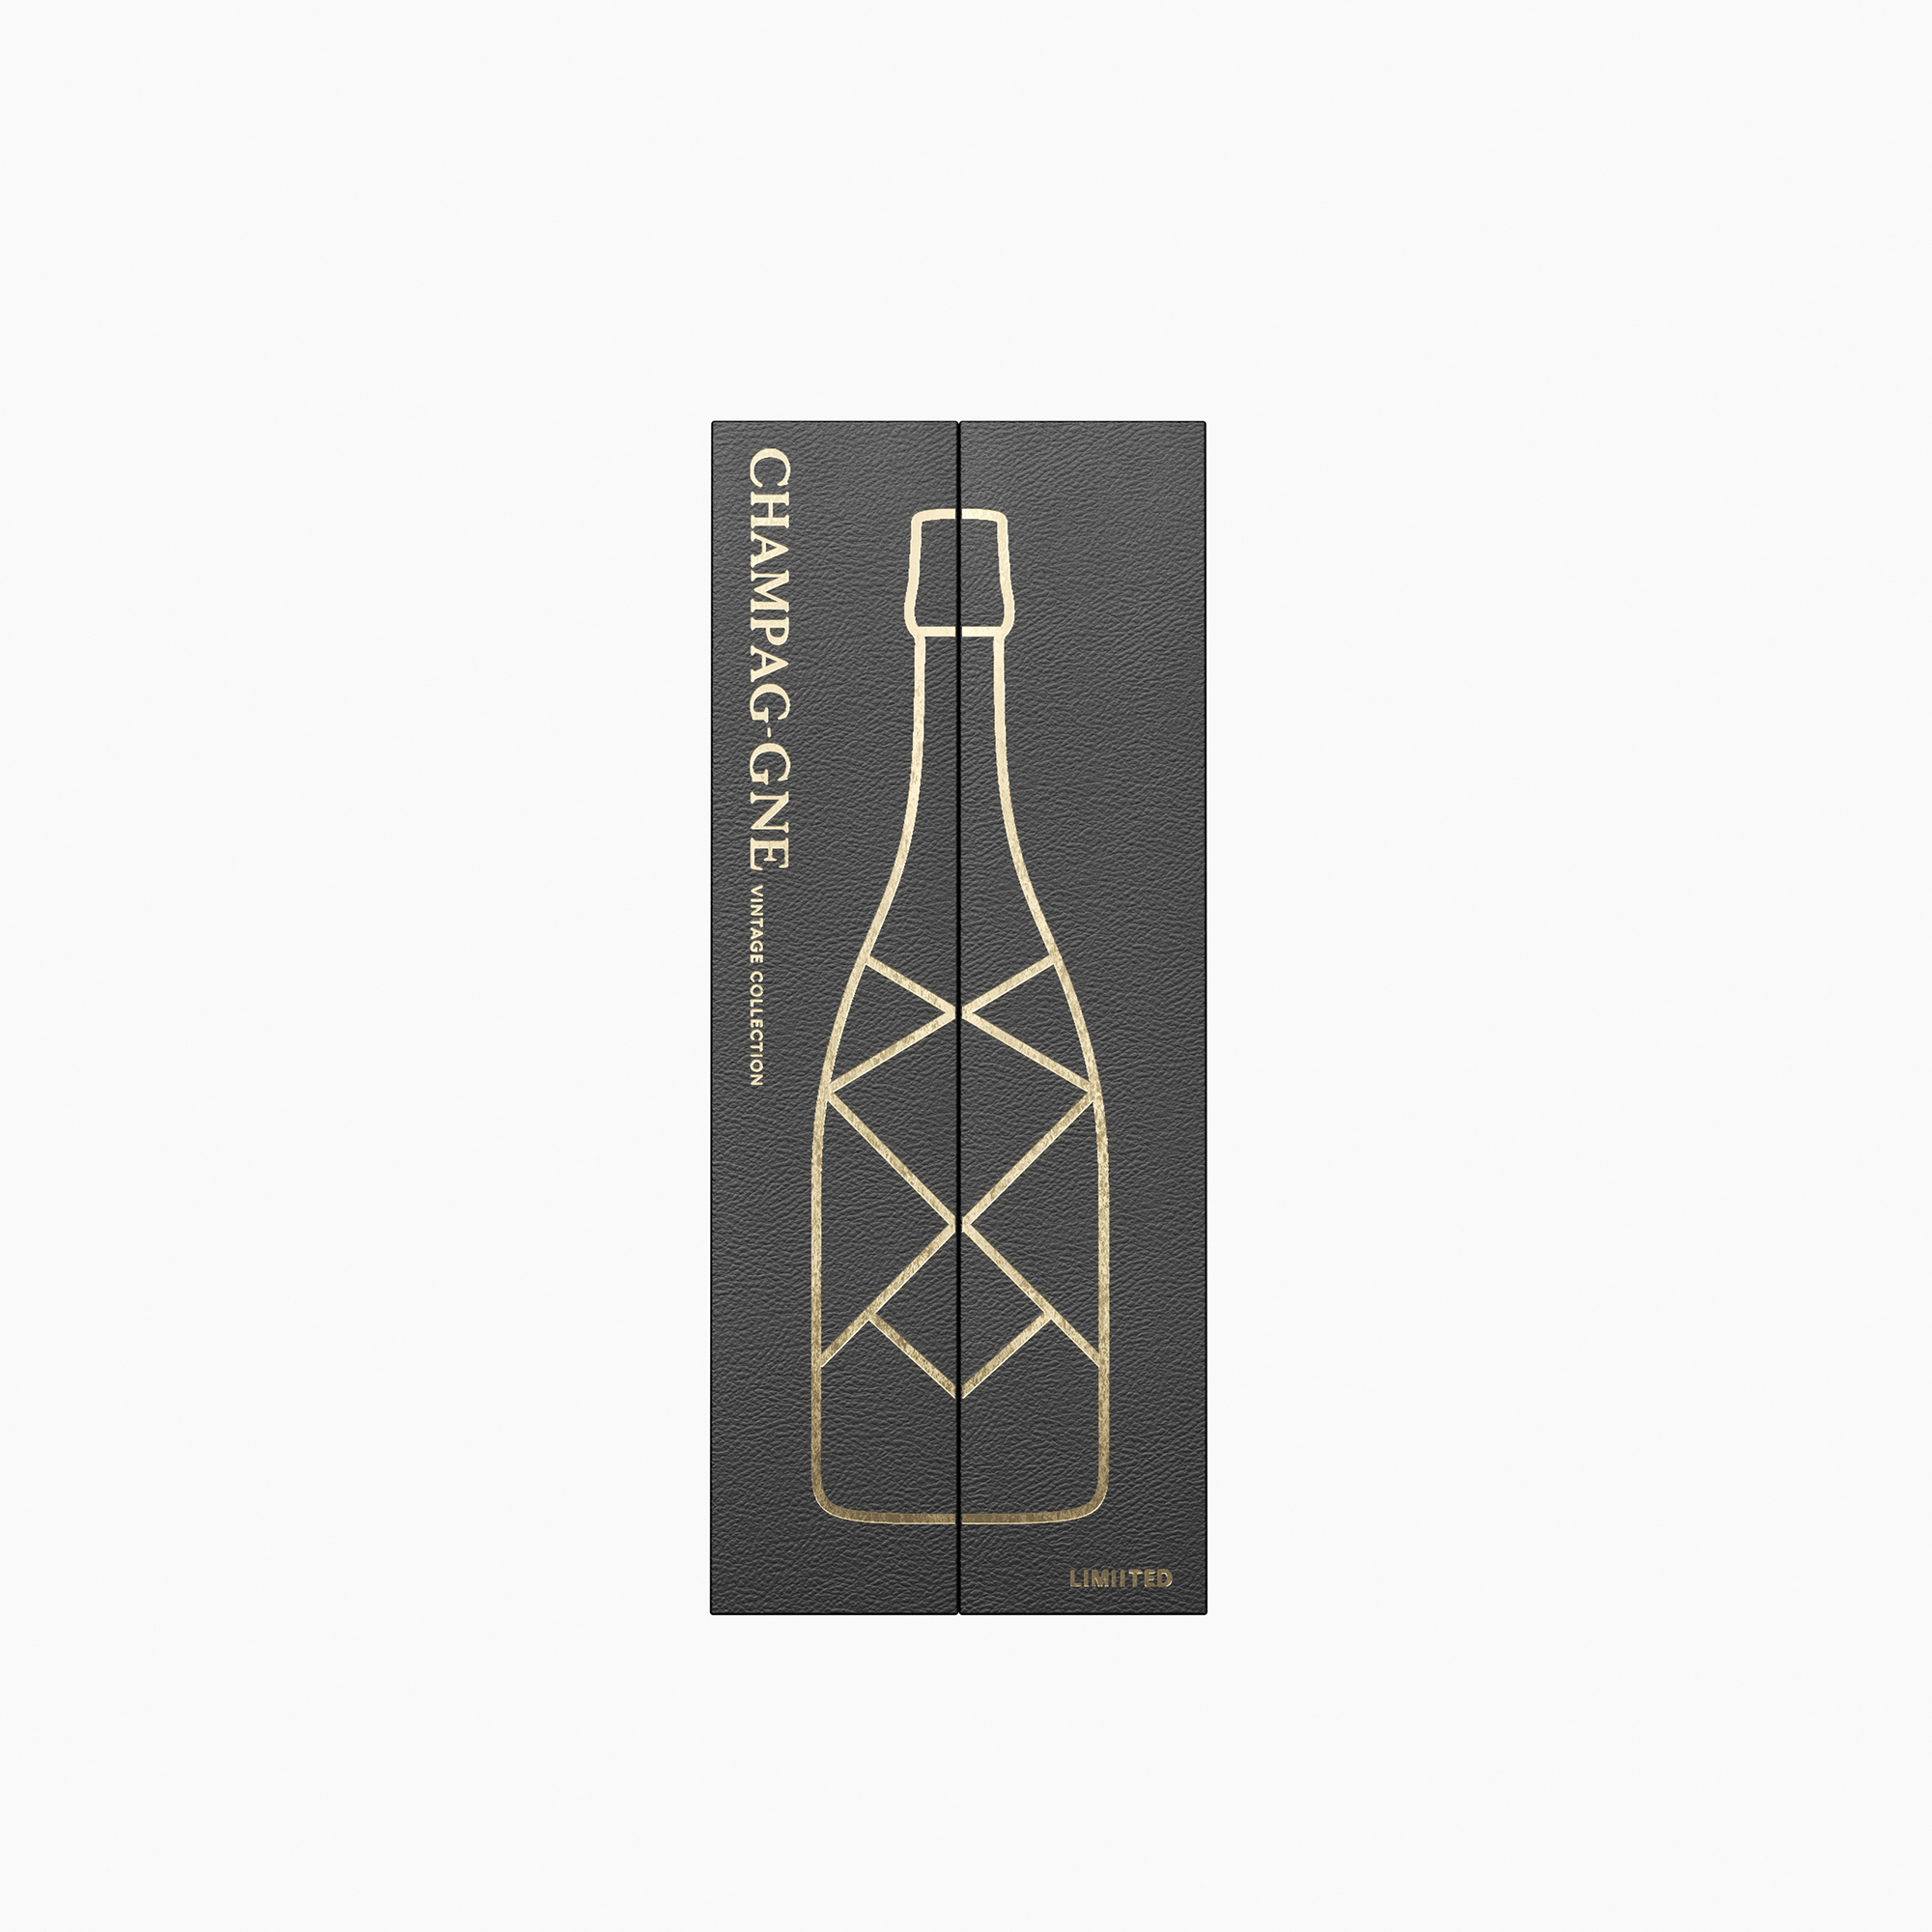
Debossing presses a steel die into the leather without adding colour. On pull-up leather the compressed area darkens naturally, producing a tonal mark with no ink at all that will not wear away. In our experience this is the first recommendation for leather boxes.
Hot foil works on leather too, with one caveat: on deeply grained hides the foil line breaks across the peaks of the grain. Match the foil to the hide, or choose debossing instead.
Embossing raises the design instead of sinking it. Demanding on both die precision and leather thickness; costlier than the processes above.
Embroidery is literally stitched, giving depth and warmth, at higher cost and longer lead time — and not every workshop can execute it.
Metal plate appears on premium leather work as well, again outsourced and assembled in-house.
Where the sample budget actually goes
Most of the sampling cost on a rigid box is not the box. It is the tooling. A foil die, an engraved tool path, a debossing steel and a screen frame are all made before anything can be judged, and each one is specific to a single surface and a single box size. That is why a change of finish after sampling is expensive in a way that a change of colour is not: the artwork survives, the tooling does not.
The cheaper sequence is to sample the surface before the box. Three lacquer panels, a piece of the actual leather, a section of the actual timber — a finisher can usually put candidate processes on those panels in days, against weeks for a finished box. Only when the panel reads correctly does it make sense to cut a production die, and only then is the sampling round being spent on something that can be reproduced at volume.
Two checks belong at that stage whatever process is chosen: adhesion on the real coating, and contrast on the real material. Both look different on a printed swatch, and both are the reasons a logo that looked right on screen arrives looking weak on the lid.
The order that saves a sample
Decide the surface finish first, then choose from the processes that surface accepts. Doing it the other way — picking a foil logo and then discovering the box is specified in deep-grain leather — does not produce a worse result. It produces no result, and a second sampling round.
For buyers, this collapses into one instruction to the factory: specify the finish and the logo process in the same sentence. They are not independent choices.
TANCYBOX produces custom wooden and leather gift boxes in Guangzhou and publishes finishing and material guidance at https://tancybox.vn