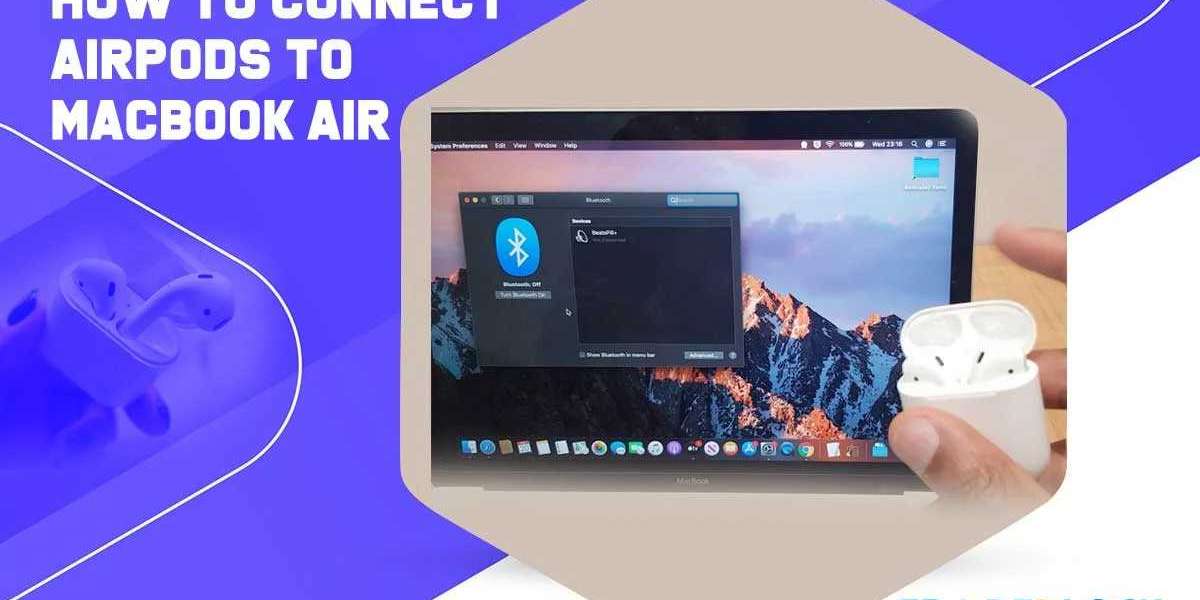
Apple's AirPods have become an essential accessory for many Apple device users, providing seamless audio connectivity across various platforms. Whether you're listening to music, attending a Zoom meeting, or watching a movie, the ease of connecting your AirPods to your devices enhances your experience. If you're a MacBook Air owner and wondering how to connect your AirPods to your macbook Air, you're in the right place. In this guide, we’ll walk you through the process of pairing and troubleshooting, so you can enjoy your AirPods with your MacBook Air without a hitch.
Why Connect AirPods to a MacBook Air?
Before we dive into the steps, let’s talk about the benefits of using AirPods with a MacBook Air:
- Seamless Integration: AirPods are designed to work perfectly with Apple devices, and when paired with your MacBook Air, you get smooth connectivity with minimal setup.
- Wireless Freedom: Forget about tangled wires and enjoy the freedom of listening to audio from your MacBook without being restricted by cords.
- Hands-Free Features: AirPods offer hands-free Siri access, which means you can control music, volume, and even take calls without needing to touch your MacBook.
- Automatic Switching: If you use multiple Apple devices, your AirPods will automatically switch between them depending on which device is playing audio.
Now, let's walk through the process of how to connect AirPods to a MacBook Air.
Step 1: Make Sure Your AirPods Are Charged
Before attempting to connect your AirPods to your MacBook Air, make sure that they are sufficiently charged. If the battery is too low, your AirPods might not connect properly or might disconnect frequently during use. You can check the battery level of your AirPods by placing them in the charging case and opening the lid near your MacBook Air. If you see the battery status appear on your MacBook's screen, you're good to go.
Step 2: Enable Bluetooth on Your MacBook Air
AirPods rely on Bluetooth to connect to your devices, so ensure that Bluetooth is turned on in your MacBook Air. Here’s how to do it:
- Click on the Apple Menu in the top-left corner of your MacBook Air’s screen.
- Select System Settings (or System Preferences, depending on your macOS version).
- In the System Settings window, click on Bluetooth in the sidebar.
- Toggle the Bluetooth setting to “On” if it is not already activated. You should see a Bluetooth icon appear in your menu bar once it is enabled.
Alternatively, you can quickly turn on Bluetooth by clicking the Bluetooth icon in the menu bar and selecting “Turn Bluetooth On.”
Step 3: Put Your AirPods in Pairing Mode
To connect your AirPods to your MacBook Air, you need to place them in pairing mode. Here’s how:
- Open the lid of your AirPods case (don’t take the AirPods out just yet).
- On the back of the case, you’ll notice a small setup button. Press and hold this button until the LED indicator on the front of the case starts blinking white. This means your AirPods are in pairing mode.
If you see a steady amber light instead of blinking white, this indicates that your AirPods are already connected to another device. You may need to disconnect them from that device first before pairing with your MacBook Air.
Step 4: Connect Your AirPods to Your MacBook Air
Once your AirPods are in pairing mode, follow these steps to connect them to your MacBook Air:
- On your MacBook Air, click the Bluetooth icon in the menu bar at the top of your screen.
- In the drop-down menu, you should see your AirPods listed under "Devices." If you don't see them immediately, wait a few moments or check that your AirPods are still in pairing mode (the LED should still be flashing white).
- Click on your AirPods' name to select them.
- Once connected, your MacBook Air will show a confirmation message, and your AirPods will automatically switch from pairing mode to connected mode.
If you successfully connect your AirPods, you should hear a chime from the AirPods, and the Bluetooth icon in the menu bar will display a small headphone icon.
Step 5: Test the Connection
Once your AirPods are connected to your MacBook Air, test them to make sure everything is working as expected. Play some music, a video, or open an app that plays audio to verify that the sound is coming through your AirPods.
- If you don’t hear anything, make sure your AirPods are set as the default audio output device. To do this:
- Click the volume icon in the menu bar.
- From the dropdown, select AirPods as the output device.
If the sound still isn’t coming through, double-check that your MacBook's volume is turned up, and that your AirPods have enough charge.
Step 6: Switching Between Devices
One of the most convenient features of Apple’s AirPods is their ability to automatically switch between devices signed into the same Apple ID. For example, if you’re listening to music on your MacBook Air and receive a phone call on your iPhone, your AirPods will automatically switch from your MacBook to your iPhone.
To manually switch devices:
- Disconnect from your current device by going to Bluetooth Settings on your MacBook Air and clicking the "Disconnect" button next to your AirPods.
- Then, pair your AirPods with another device, such as your iPhone or iPad, by following the same process for Bluetooth connection.
Troubleshooting Common AirPods Connection Issues
If you're having trouble connecting your AirPods to your MacBook Air, here are some common solutions:
1. AirPods Not Showing Up in Bluetooth Menu
- Make sure your AirPods are in pairing mode (LED blinking white).
- Restart your MacBook Air to refresh its Bluetooth settings.
- Try forgetting the device by going to System Settings Bluetooth, right-clicking on your AirPods, and selecting Remove. Then, repeat the pairing process.
2. Audio is Distorted or Cutting Out
- Ensure your AirPods have sufficient charge.
- Check for any Bluetooth interference from nearby devices.
- Restart Bluetooth by turning it off and on again on both your MacBook and AirPods.
3. AirPods Won’t Stay Connected
- Make sure your AirPods are up to date with the latest firmware. This typically happens automatically when connected to an iPhone, but it’s good to check.
- Reset your AirPods by holding the setup button on the back of the case until the LED blinks amber, then release. After that, pair them again with your MacBook Air.
Conclusion
Connecting your AirPods to your MacBook Air is a simple process that enhances your overall user experience. Whether you're working, watching videos, or just enjoying music, the wireless freedom and seamless integration of AirPods with macOS make them a top choice for MacBook Air users. By following the steps outlined in this guide, you should have no trouble connecting your AirPods, and with a few troubleshooting tips at your disposal, you can resolve any issues that may arise.
If you encounter persistent connectivity problems, don’t hesitate to visit Apple's support website or contact their customer service for further assistance.
Enjoy your AirPods, and happy listening!


